
This article explains how to search, filter, edit and delete artwork sets.
Search, filter and sort artwork sets
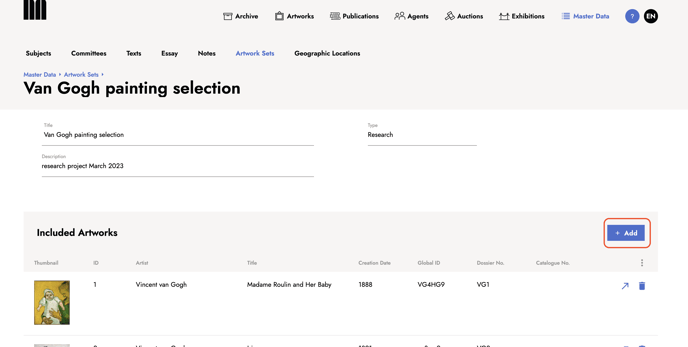
Go to the Master Data section and click artwork sets in the submenu. Here you find an overview of all your artwork sets.
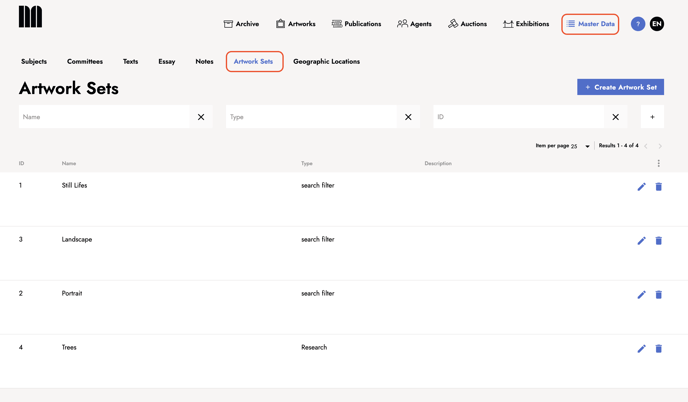
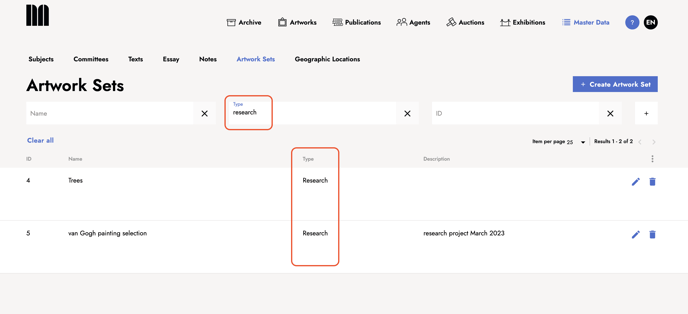
Search for an artwork set by using filters, such as name, type or ID. You find the filters above the table view.
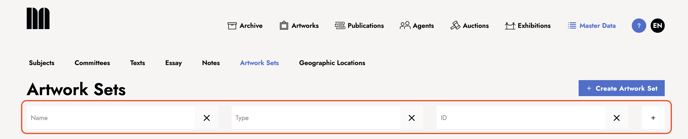
To filter your sets by ID, name, type or description, click on the corresponding filter.
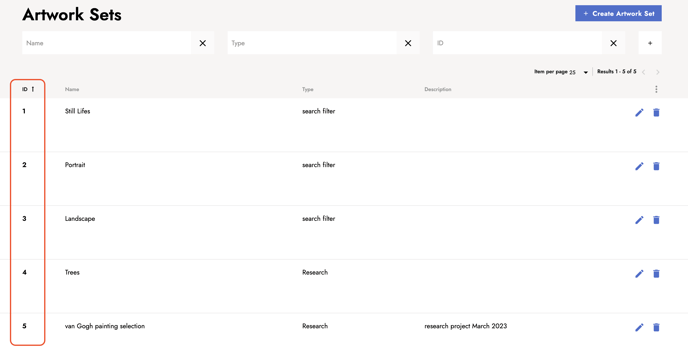
To sort your artwork sets, click once for an ascending order, twice for a descending order, and a third time to clear the filter.
Edit artwork sets
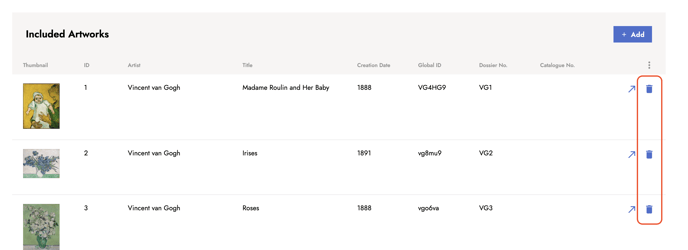
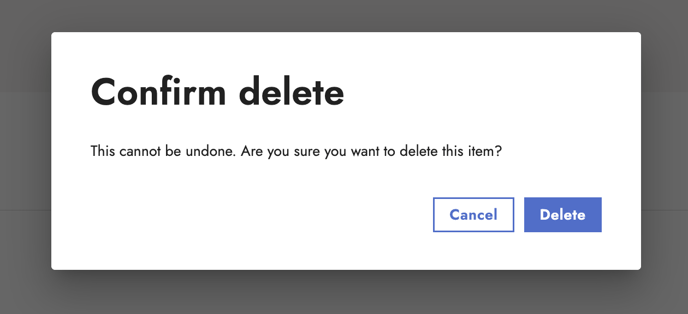
Got to the artwork set table view. Click the bin icon next to the artwork set. A light-box pops up. Click delete to confirm the deletion or click cancel to keep the artwork set.
Just getting started with artwork sets? Check out this article to learn how to create artwork sets.
Last updated: July 5, 2023