
Whenever an artist has had the need to mark their artwork, they have made use of different ways to do so. Whatever their motivation, the works of art may carry with them markings of different kinds - all of which you can handle within our system.
This flow is intended to show you how to record Signatures, Inscriptions and Markings via the Artwork detail page as well as to clarify how data needs to be entered and how it can be marked as Tombstone data or Other data.
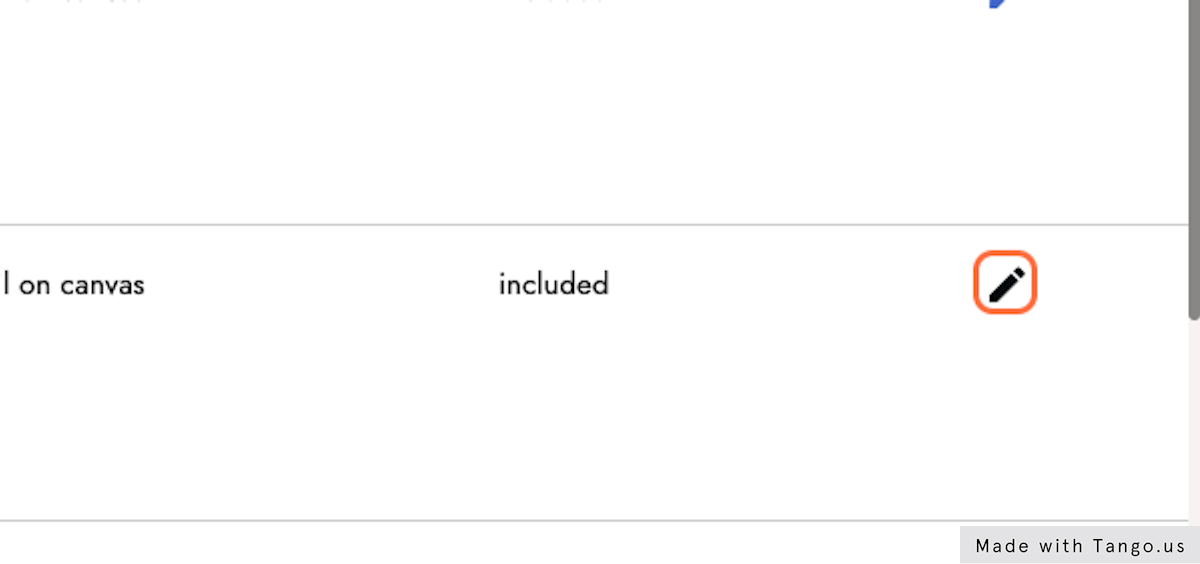
1. Go to Artworks and select the artwork you want to edit
2. Click on the edit icon
In order to access the Artwork detail page
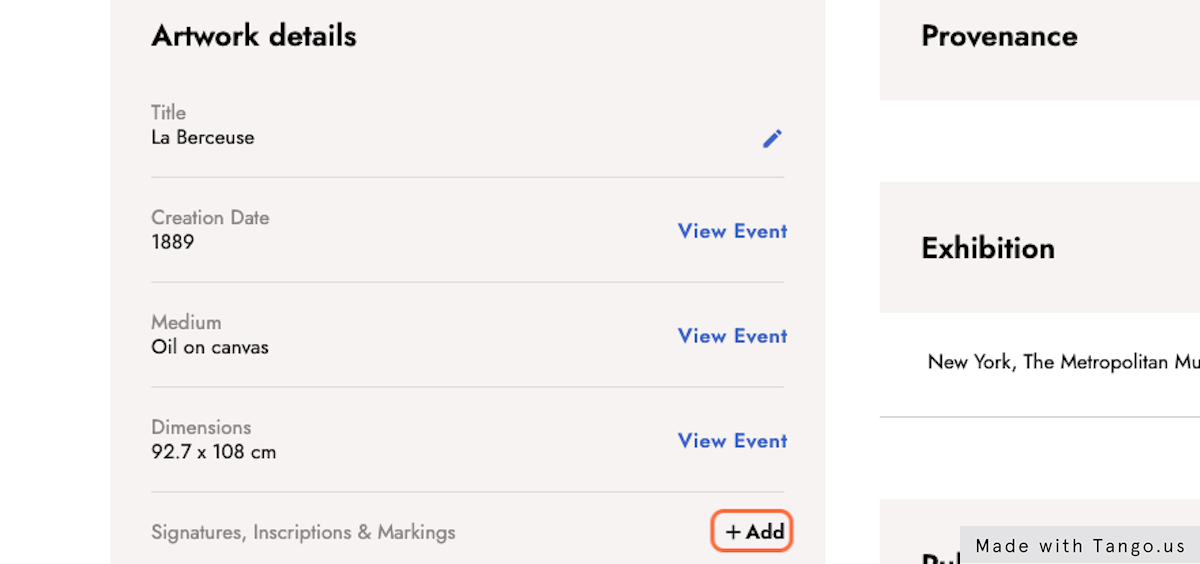
3. Click on + Add next to Signatures, Inscriptions & Markings
To record a Signature, Inscription, and Marking, next to the field you will find an Add button. This will lead you to the central list to record the SIMs.
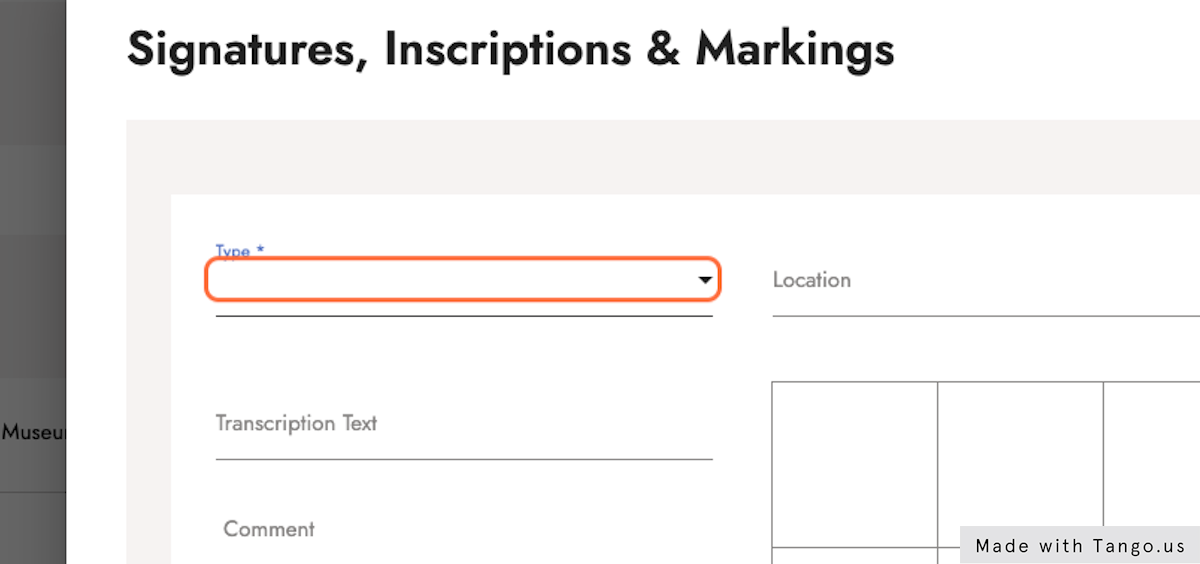
4. Click on Type *
Type refers to both: the content of the marking, and the way it was applied. This way the SIM can be a signature, a date, a dedication, or any text but also any kind of marking which has been applied through stencil, or stamp, or inscription, or any way imaginable.
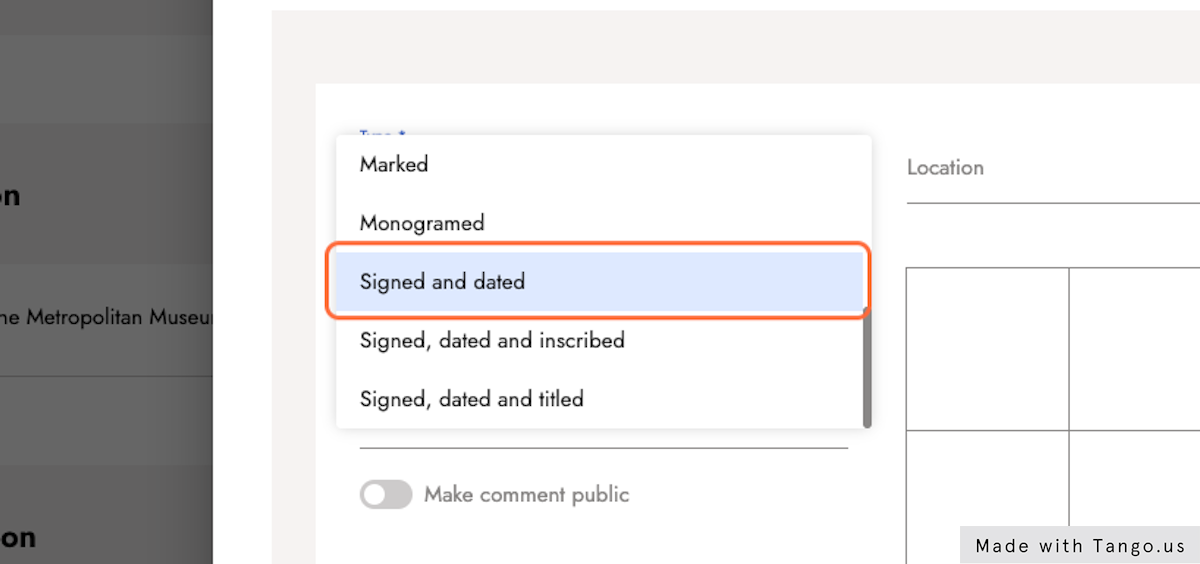
5. Select the Type from the options provided
We provide options usually found whenever Signatures, Inscriptions, and Markings are found.
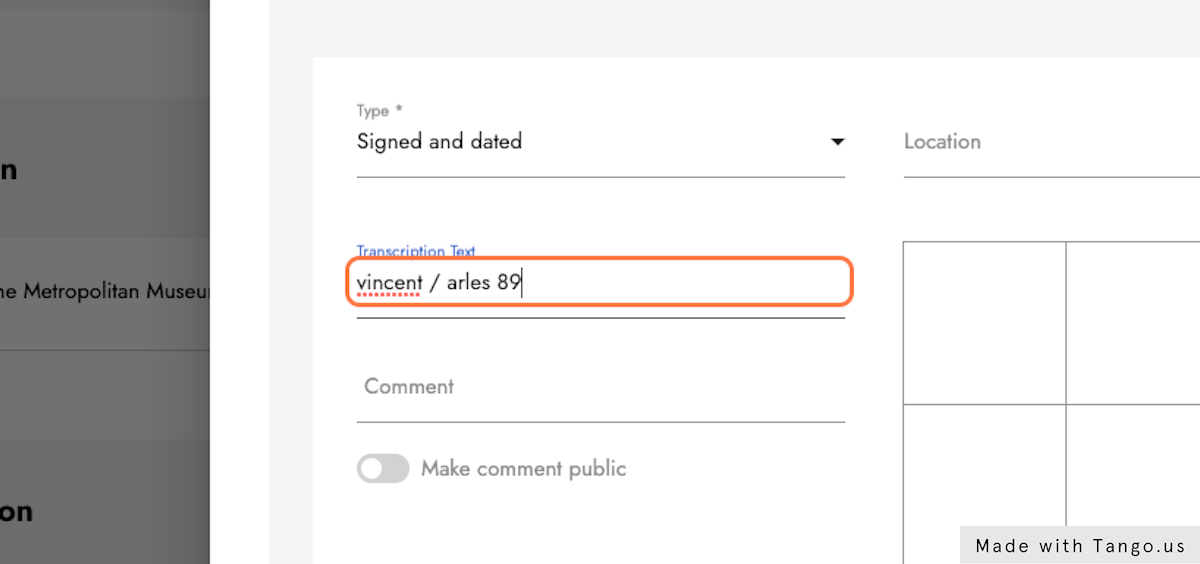
6. Type down the SIM text
The field Transcription text is where you should enter the text of the inscription verbatim, or, if it is a marking, a description of the marking.
The text field accepts markdown, that means that if you place the text between stars (* *) the text will display in italics, and if you place the text between double stars (** **) the text will display in bold.
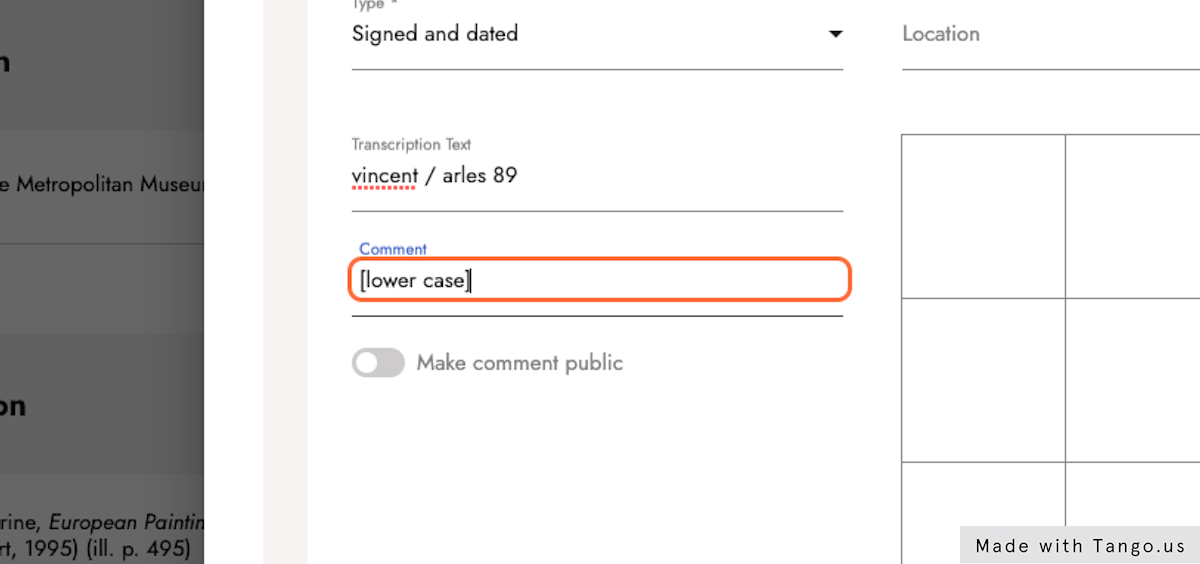
7. Type down additional data
The comment field is to enter extra information that needs to be recorded around the SIM.
Below the comment field, a toggle is displayed with the text Make comment public. This toggle is intended to include the comment in the public rendering of the SIM or not.
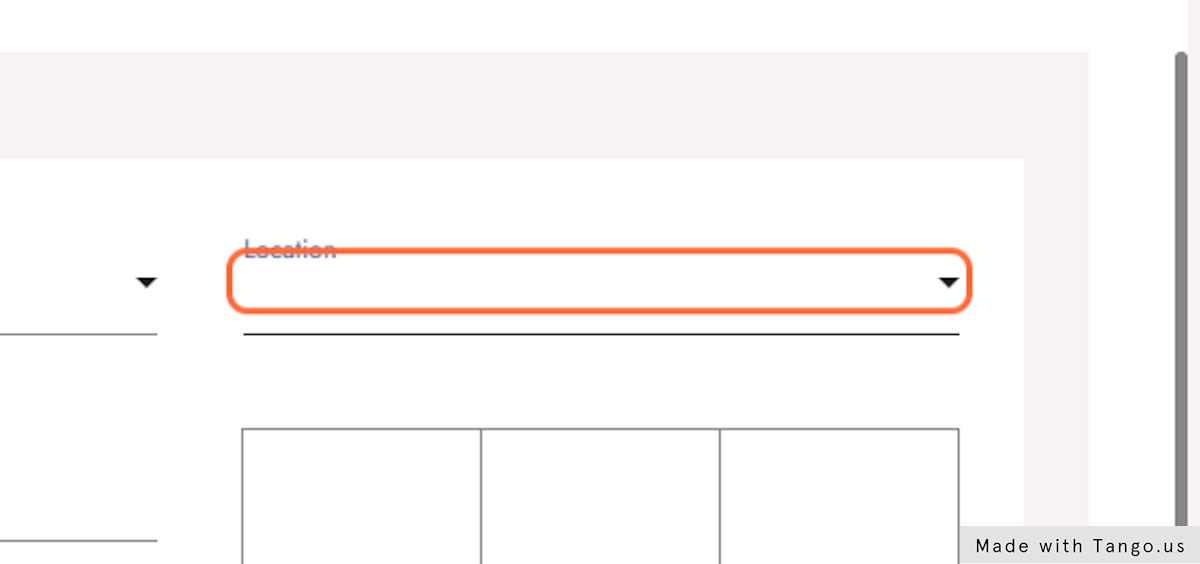
8. Record the location
All Signatures, Inscriptions, and Markings have a location. Sometimes the location is evident and sometimes can be more complicated to record it. We classify 3 categories:
-
Location. This field provides a drop-down menu that treats each artwork as a 3 dimensional piece. This way you can select where the SIM is located: front, back, top, bottom, left side, right side. This, in order to consider that sometimes the canvas has sides that also need to be considered as places to enter a SIM.
-
Grid. The grid is intended to provide more accuracy to the location. Once you have entered the location of the SIM, for example, in the back of the piece, then you need to enter where exactly in the back is the SIM located: upper right, upper left, upper center, etc.
-
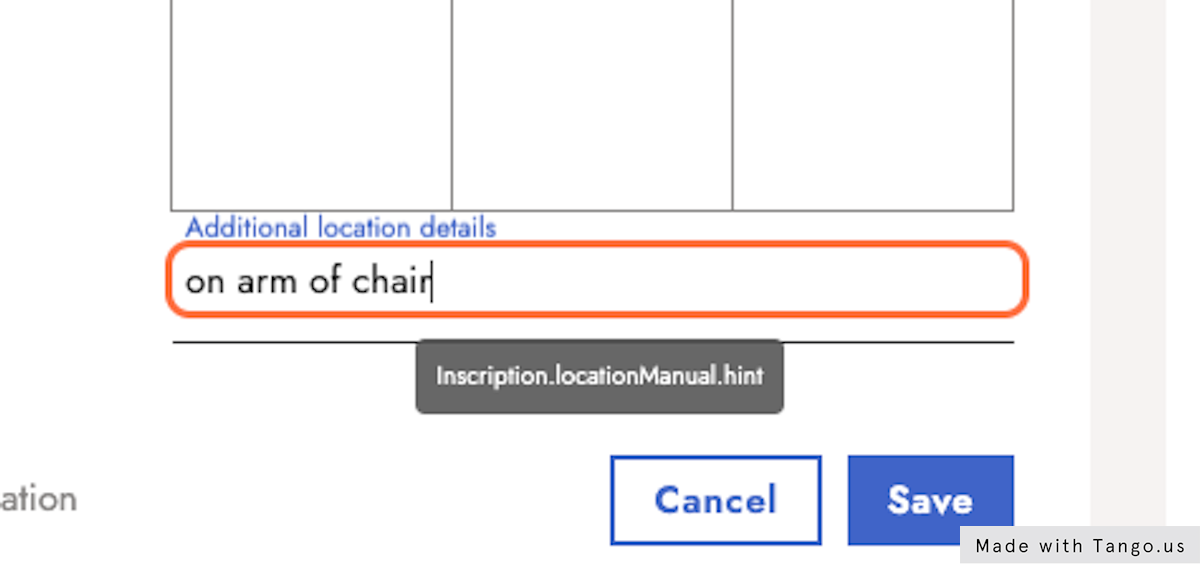
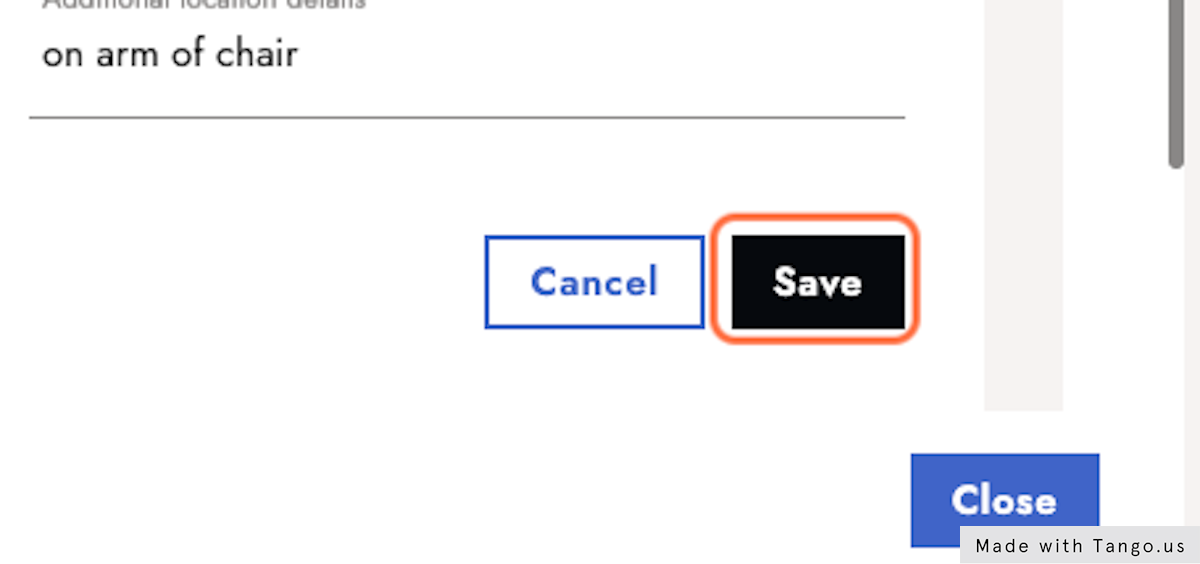
Additional location details. When neither the 3 dimensional options nor the Grid work to record exactly where the SIM is located (think for instance on the can) then this field will allow you to enter the precise location.
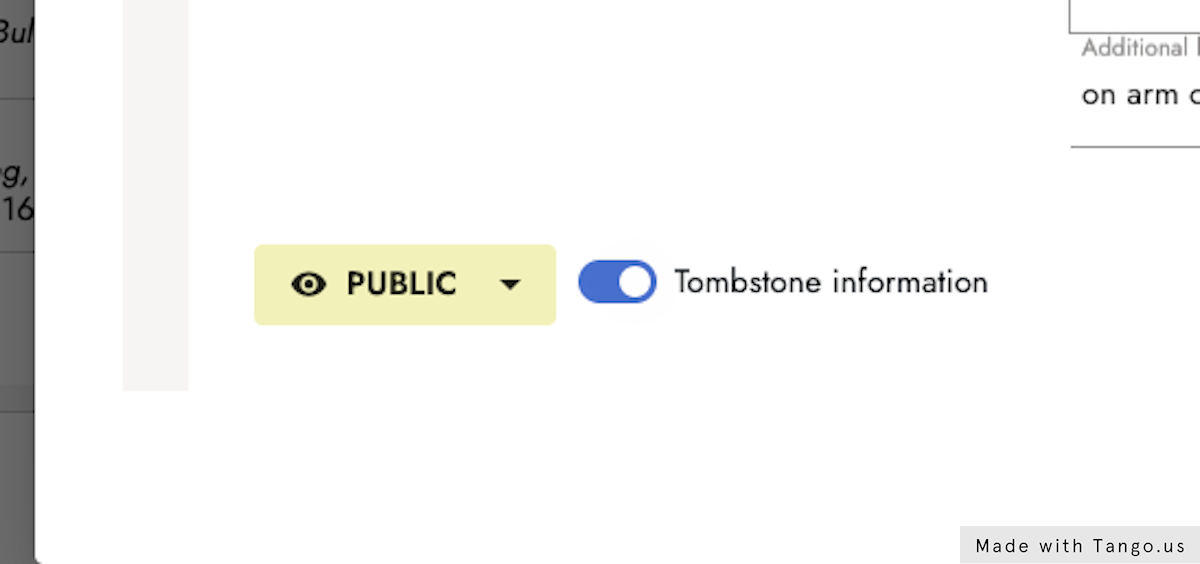
9. Review the visibility status and tombstone toggle
At the bottom you will see the visibility status button, and the tombstone information toggle. The former will help you to decide whether the SIM should be public or private and it is public by default.
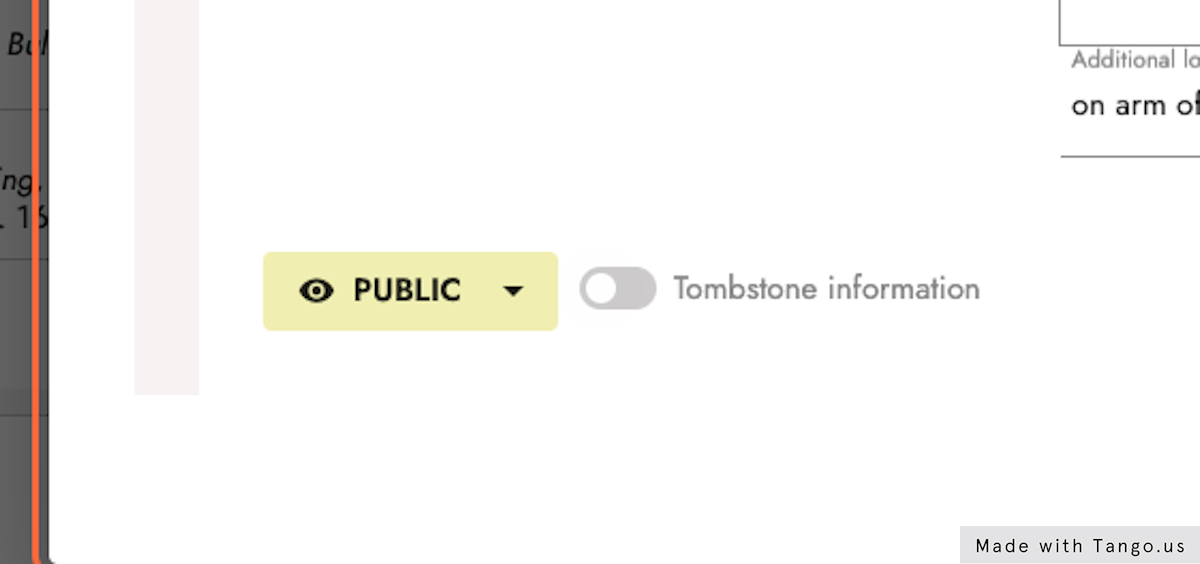
10. Turn on the tombstone toggle when necessary
The latter will help you to decide whether the SIM should be included as part of the tombstone data or not. The toggle is turned off by default.
11. Click on Save
If you want to add a new SIM you will see the + Add button below for you to start the whole process again.
Well done! Now you're able to add Sigantures, Inscriptions and Markings to your artworks to the artwork details.
As a next step, take a look at how to record Signatures, Inscriptions, and Markings via art events.