
Creating duplicate entries, especially when working with legacy data, can happen by mistake. Merging duplicate data improves data quality and avoids confusion.
It’s best to have only one agent per entity in your database. When duplicates happen, information can get lost and confusion ensues. You likely have created master entries that have most of the information and duplicate entries that have only bits and pieces. If you’ve accidentally created multiple agents for the same people or institutions, you can merge them into one without copying and pasting. Here’s how to do so.
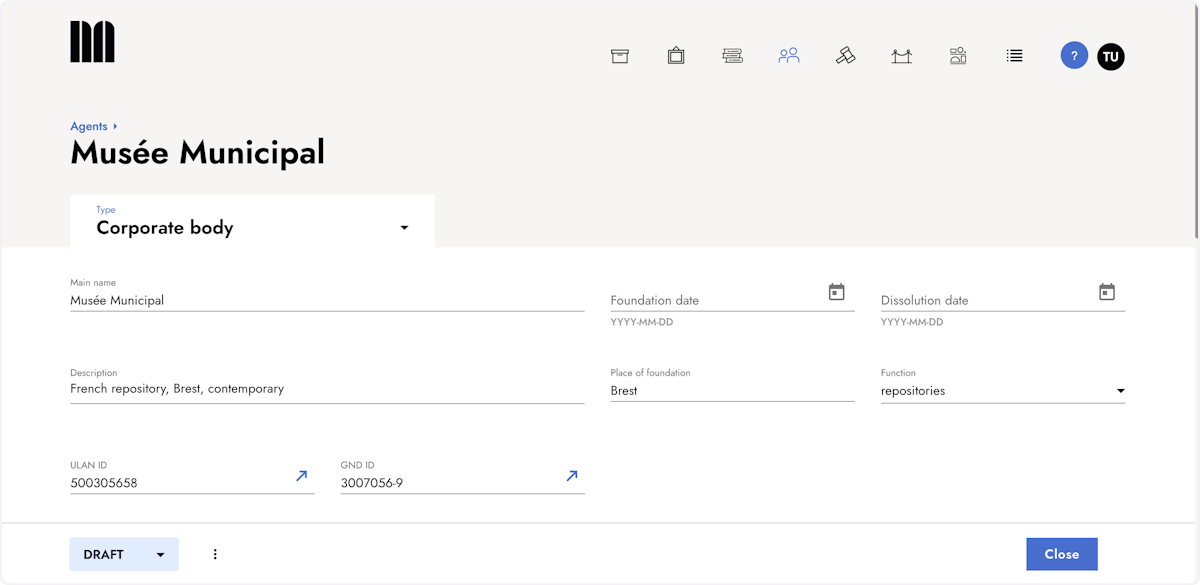
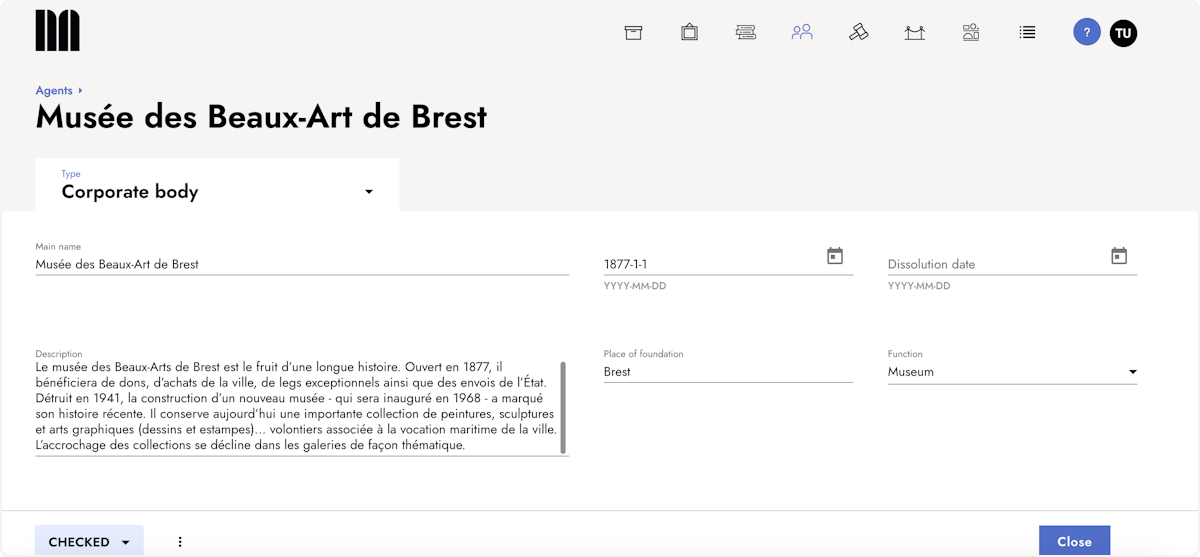
1. Open the duplicate agent entry
Access the entry of the duplicate agent that you intend to merge with the master agent.
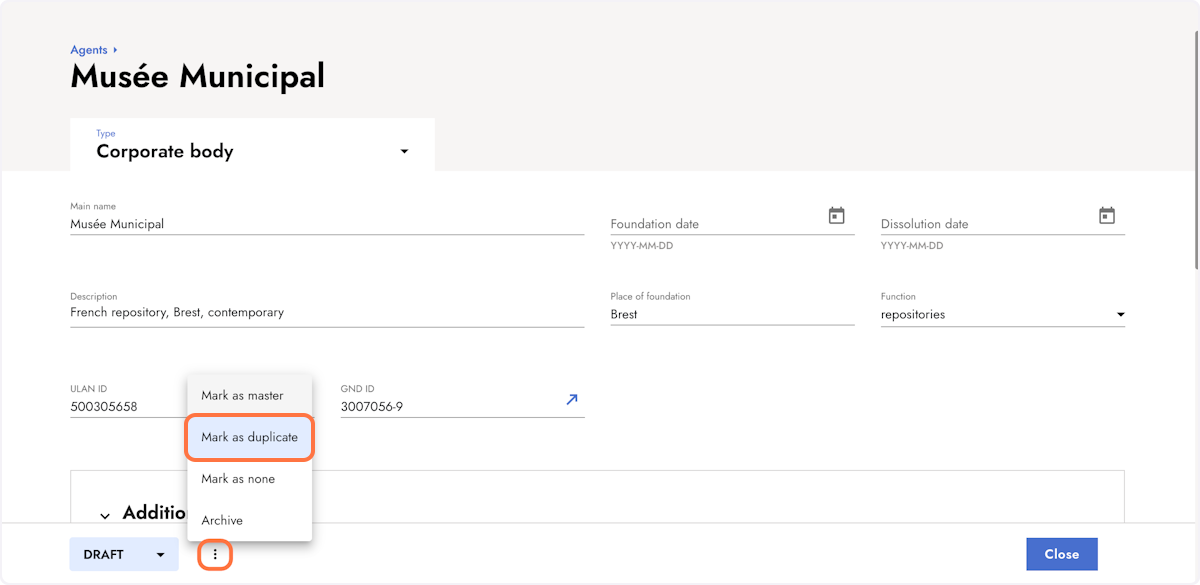
2. Mark the entry as duplicate
Click the three dot icon in the action bar and select mark as duplicate.
3. The agent is now marked as duplicate.
The D in the action bar indicates that this agent is a duplicate entry.
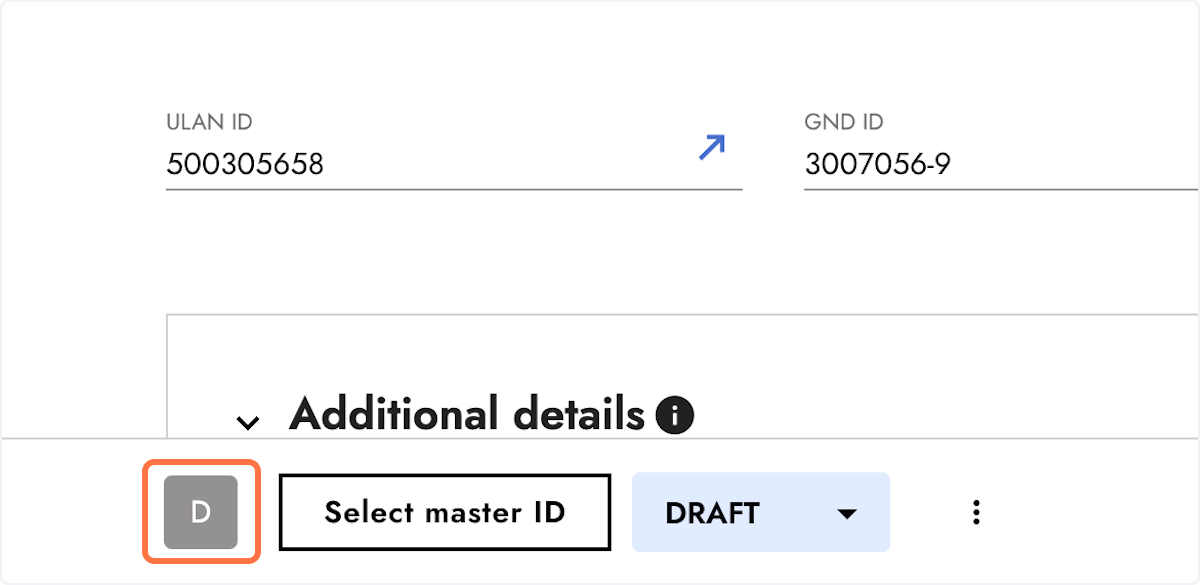
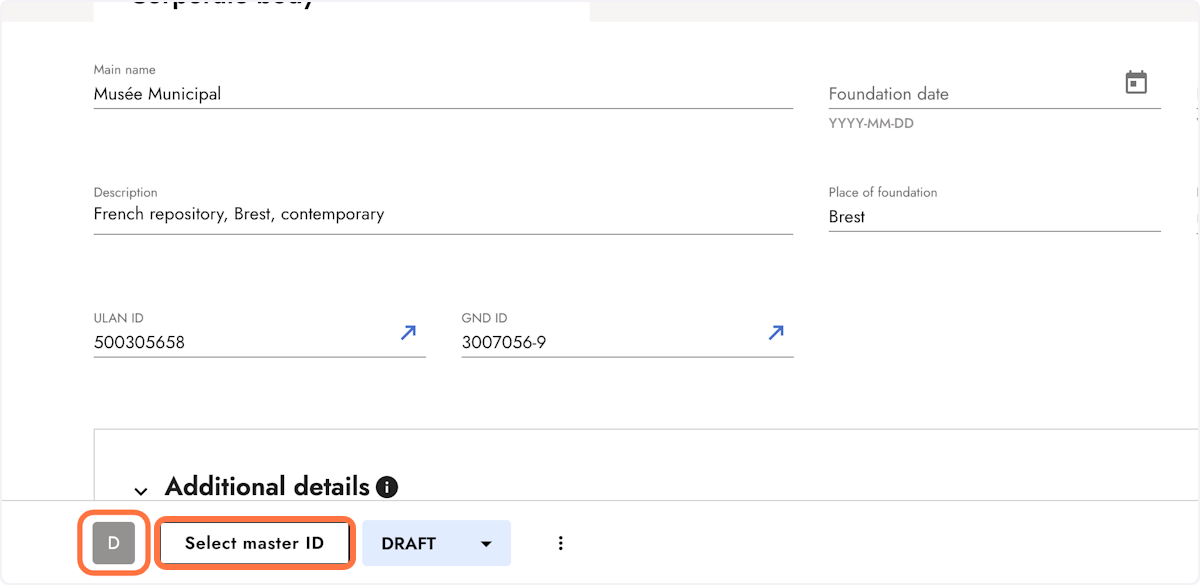
4. Select the Master Agent
A duplicate entry needs a master entry to be merged with. Click on select Master ID to select the master agent.
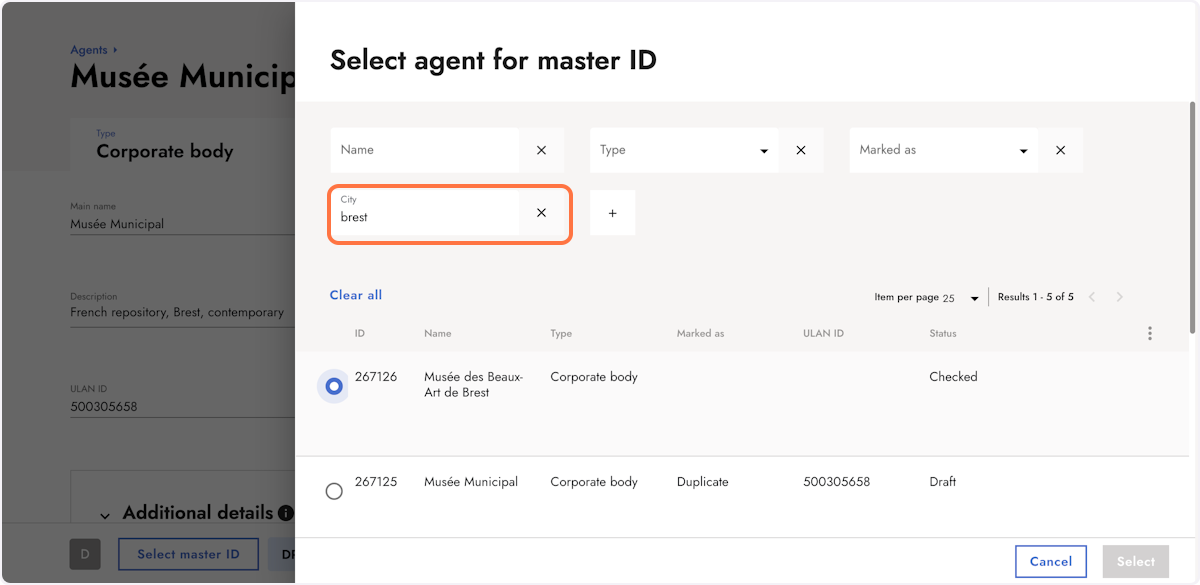
5. Search the master agent
A list view of all agent entries opens. Here you can search for the master agent. Use the filters, e.g., city, to search for the master agent.
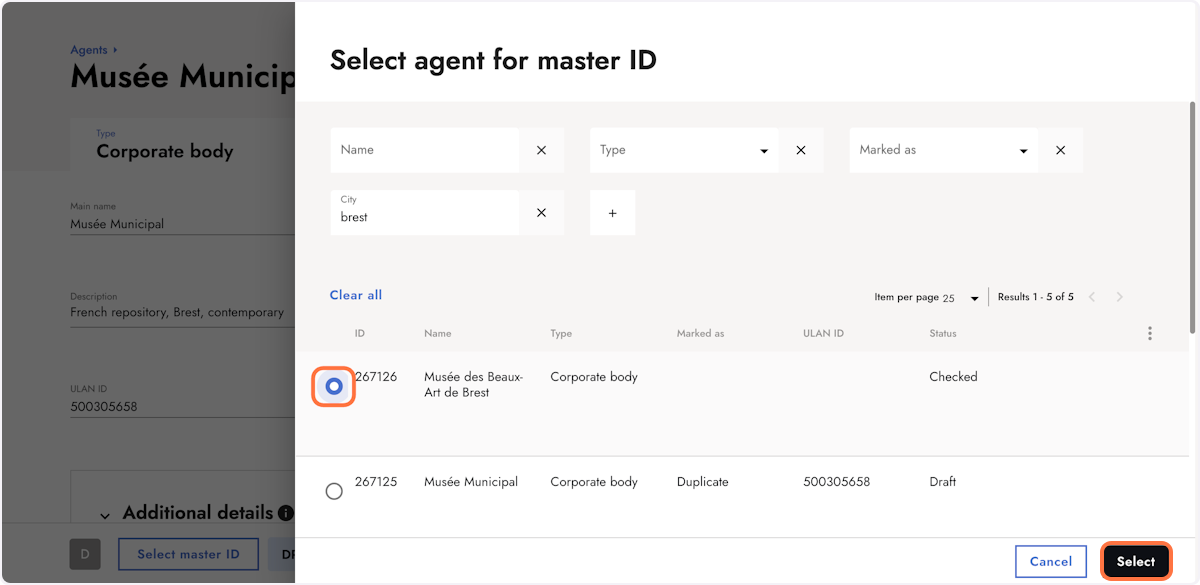
6. Select the master agent
Select the master agent and confirm with select.
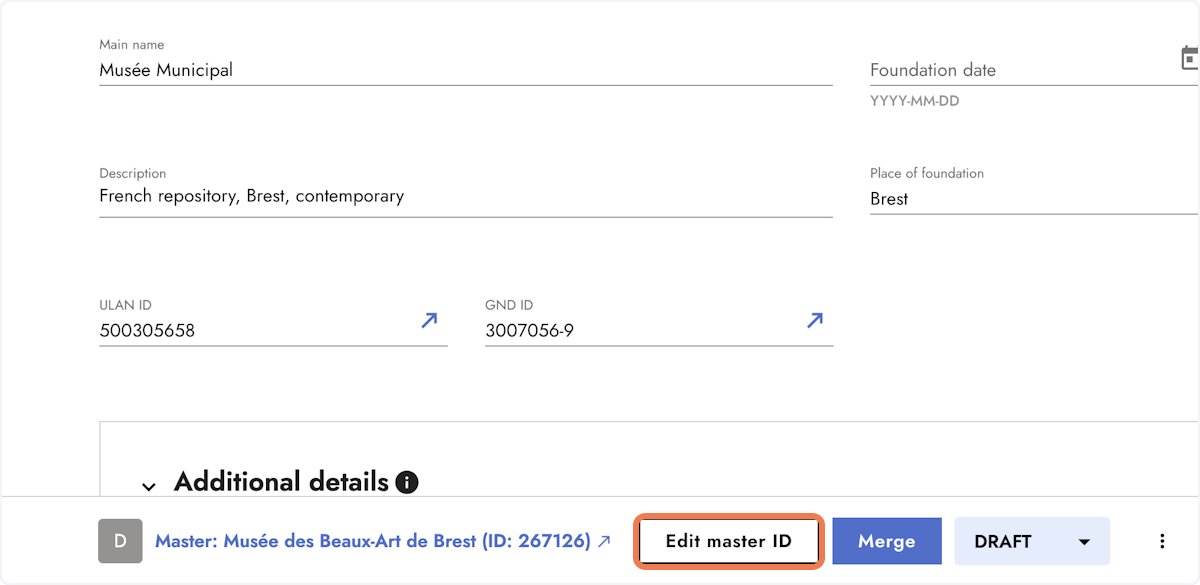
7. If needed, edit the master ID before the merging process
At this point, the actual merging process hasn't started yet. If you need to edit the master ID, you can do this by clicking Edit master ID.
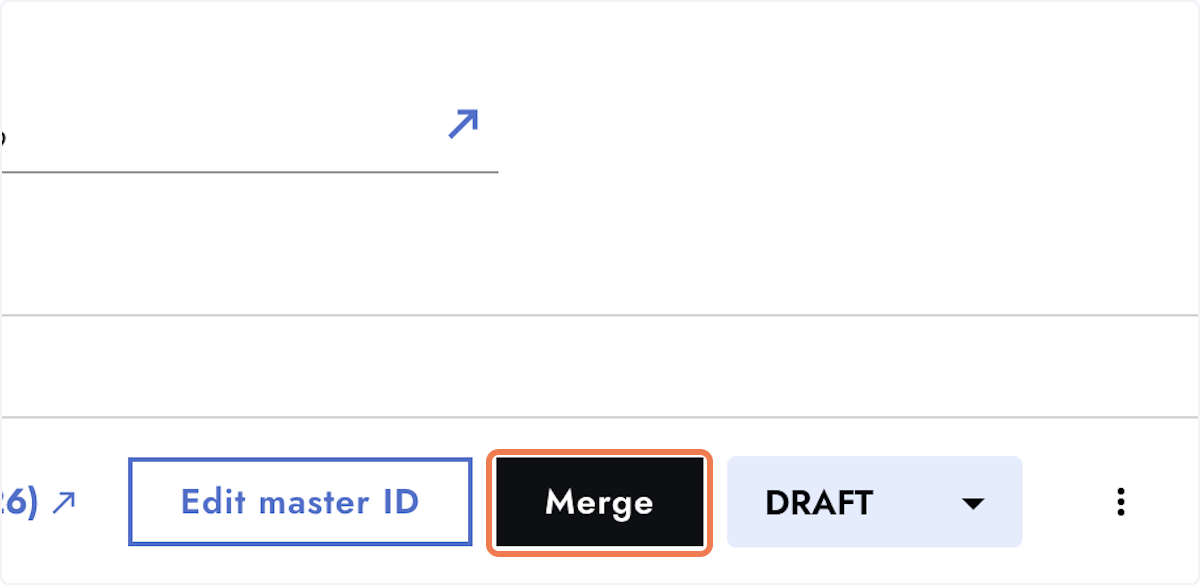
8. Click Merge
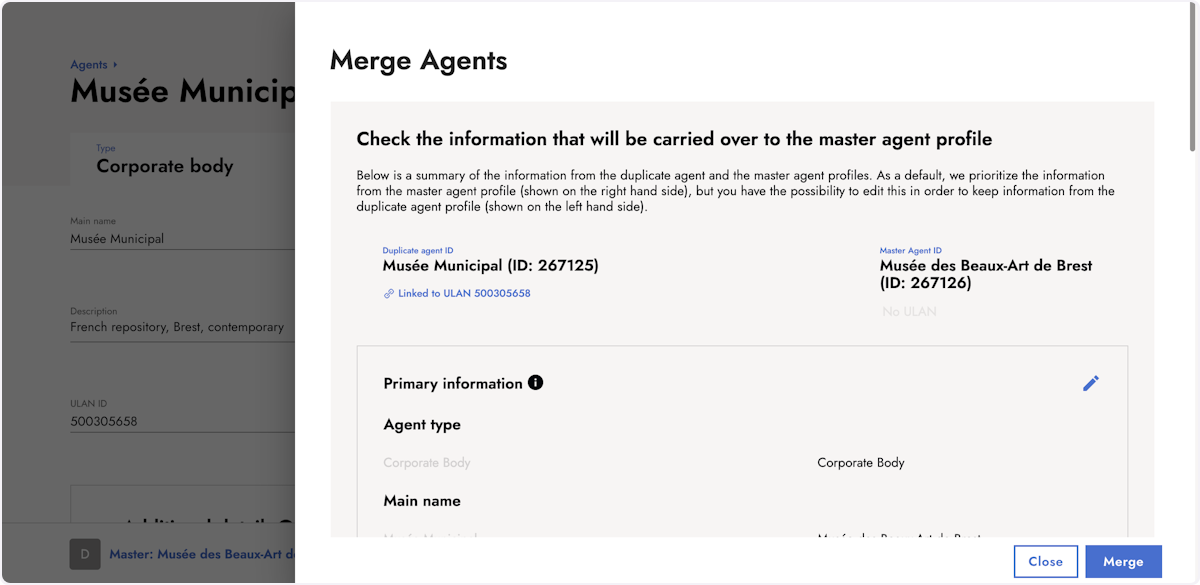
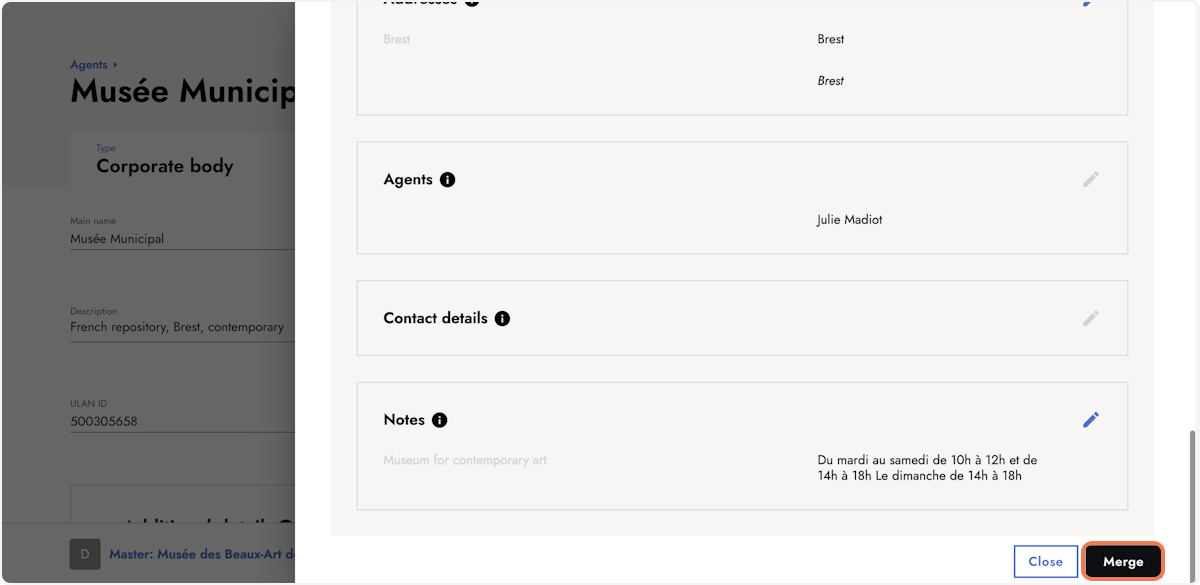
9. Decide which information you want to merge
A dialog opens. You see all the available information of the duplicate and master agent. As a default, the data of the master agent is preselected.
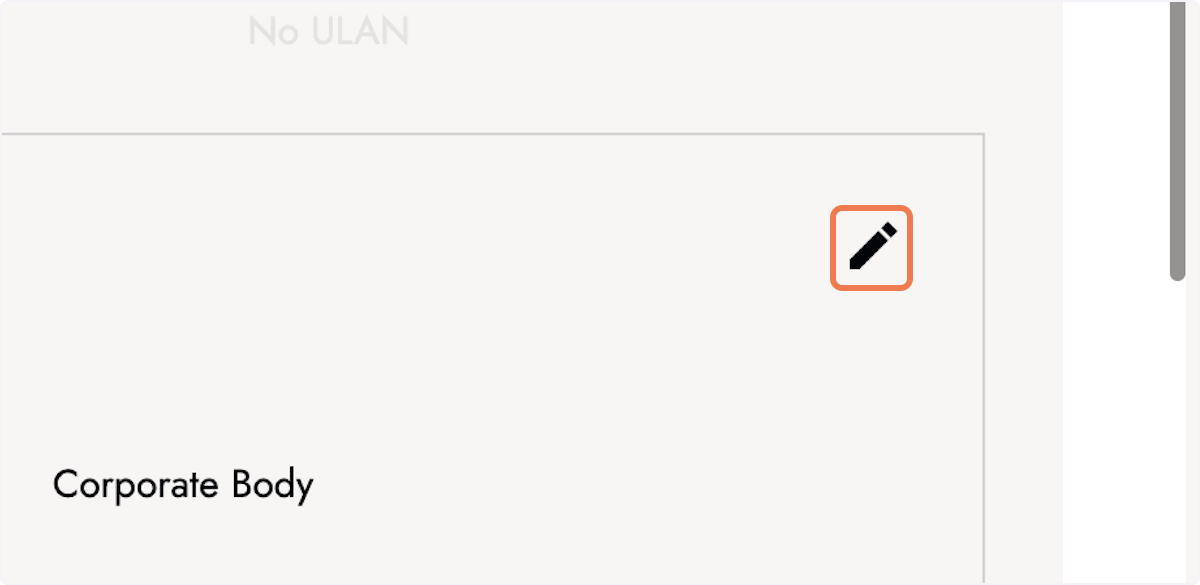
10. Edit the sections
The information is split in different sections, and you can edit each section by clicking the edit icon located in the top right corner of each respective section.
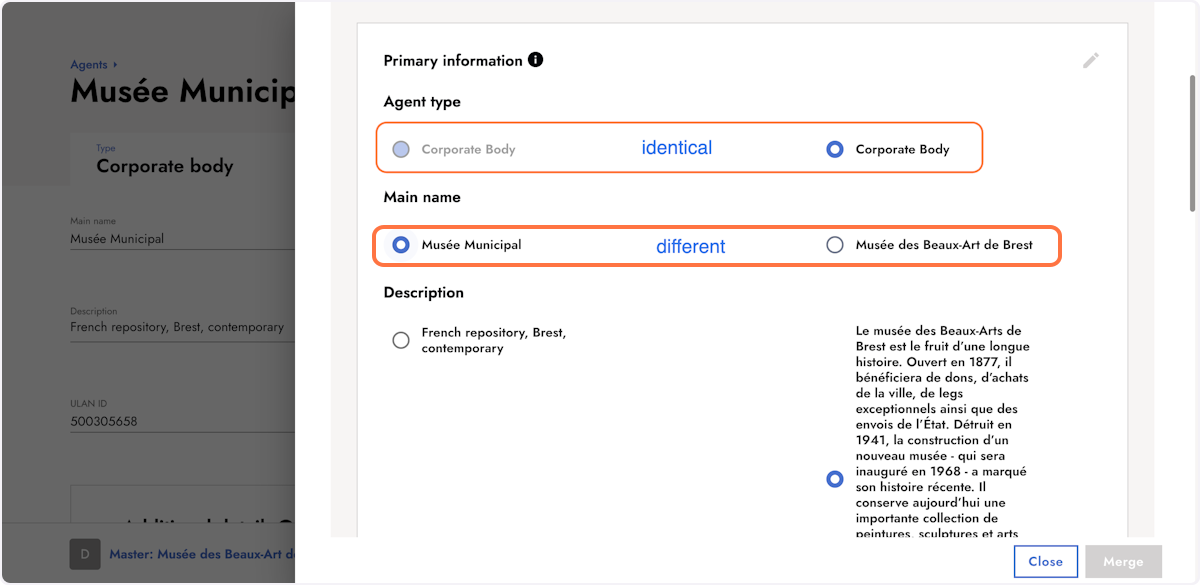
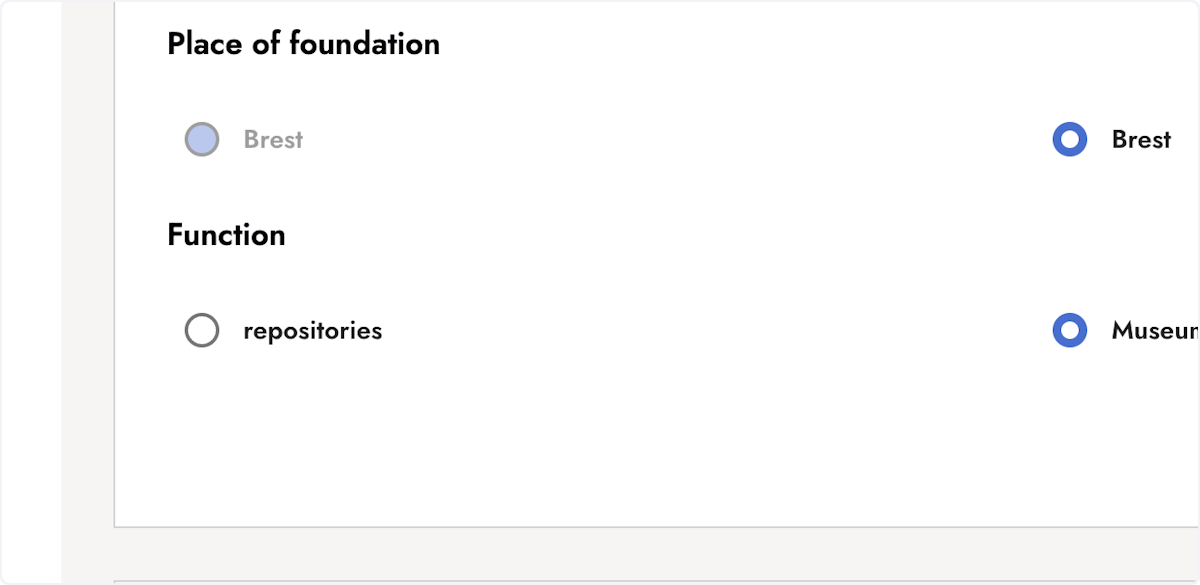
11. Adjust the preselection if necessary
When the information between the duplicate and master agent is identical, the preselection cannot be edited. However, in cases where the information varies, you have the option to modify the preselection and retain the data from the duplicate agent instead of the master agent.
12. Click Apply to save the changes you made to a section.
You can only edit one section at a time. Save your changes before you go to the next section you want to edit.
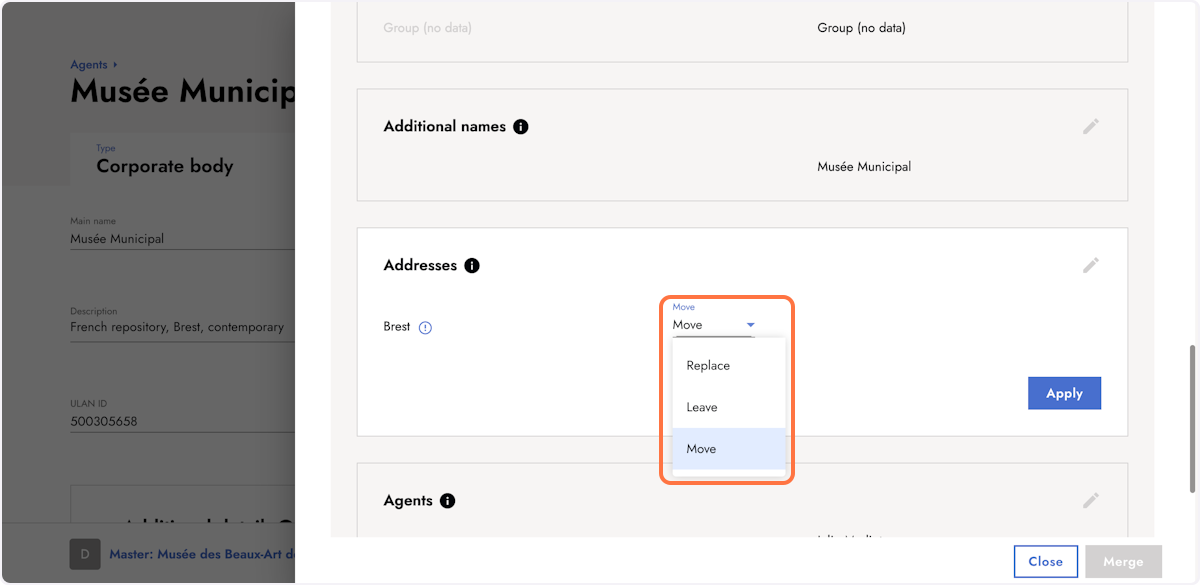
13. Select if you want to replace, leave or move the data.
For data fields that permit multiple options, such as additional information, notes, and addresses, you don't need to choose between retaining the duplicate or master agent's information. Instead, you have three options:
-
Replace
-
Leave
-
Move
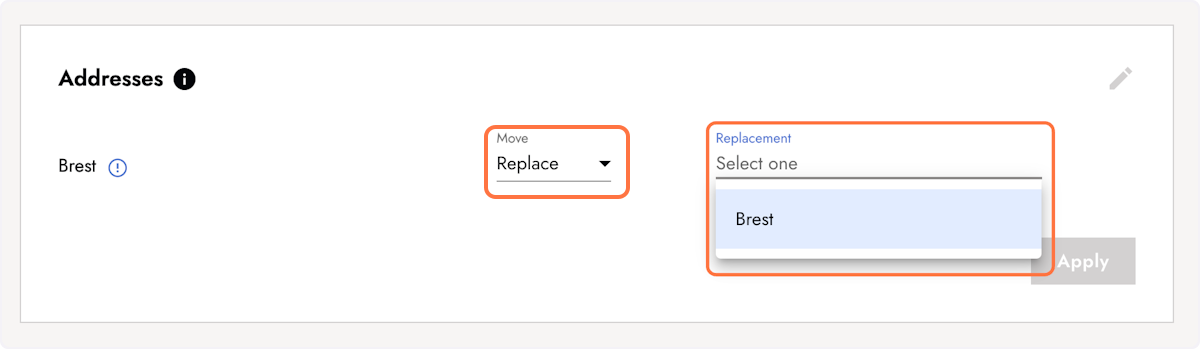
a. Replace the duplicate's data with data from the master agent.
Choosing this option will overwrite the duplicate's data with information from the master agent. You need to select a data from the master agent to replace the duplicate's information. All existing connections between the duplicate agent and other entries across the platform will be preserved and transferred to the selected master agent data during the merging process.
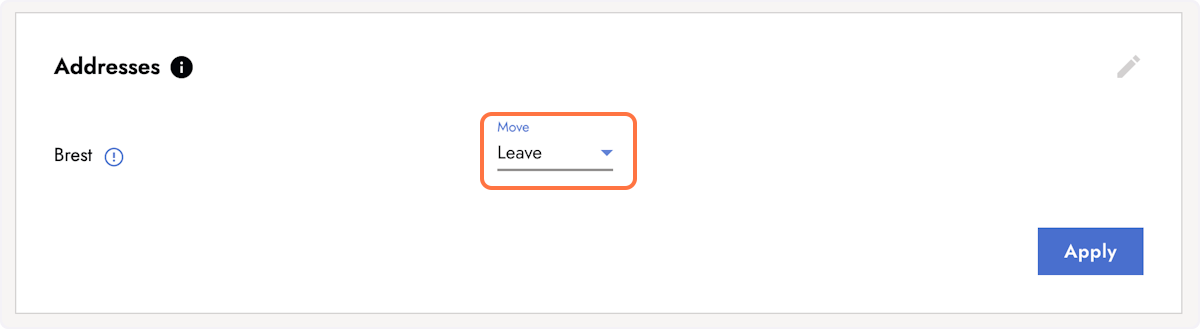
b. Leave the duplicate's data
Select this option to leave the duplicate's data. Leaving information will ensure references remain intact, but the information will not be carried over to the master agent profile.
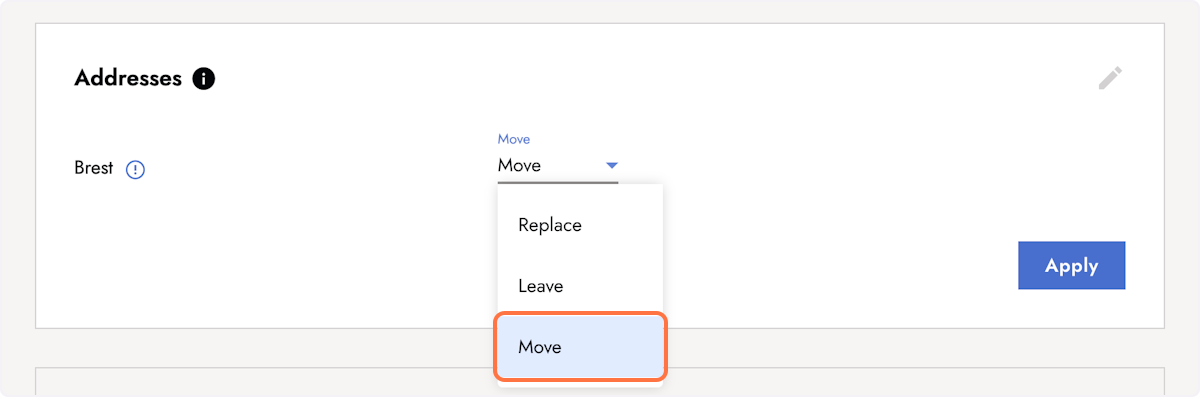
c. Move the duplicates data to the master agent
Select this option to preserve the duplicate's data alongside the master agent's data. All existing connections between the duplicate agent and other entries across the platform will be retained.
14. Click Merge after you have selected the data to be merged
After you edited the section as necessary, you'll be presented with an overview of the data set to be merged. Click Merge to initiate the merging process.
After the agents are merged, the duplicate is removed, leaving only the master agent containing all the selected data. It's important to note that the merging process is permanent and cannot be reversed.
After merging, the duplicate agent is deleted.
Keep reading:
Last updated: November 14, 2023