
With the Navigating.art platform you can add one or multiple preview images to your artwork entries. This article shows you how to do that in six steps.
Before following this tutorial, make sure you uploaded the needed image(s) to the artwork dossier or another archival resource. The tutorials How to upload artwork images and How to upload media to the archive help you do this.
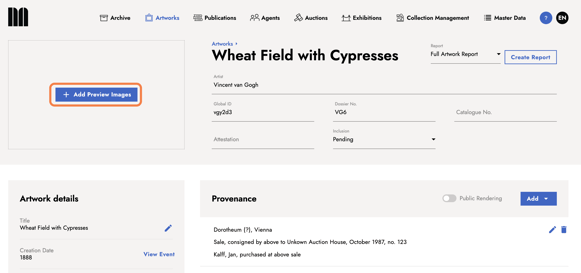
- Open the artwork entry.
- Click + Add Preview Images.
- A dialog opens. Select the resource containing the image and click Select. There are two options to choose from:
a. Select a resource from the recent selections. The resource displayed at the bottom of this list is always the artwork’s dossier.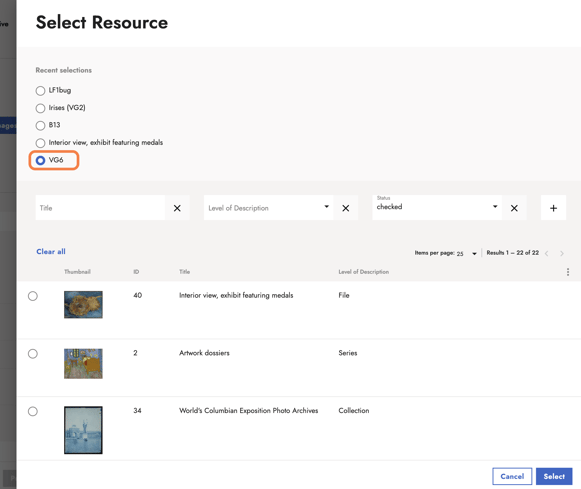
b. Select a resource from the list by using the search filters.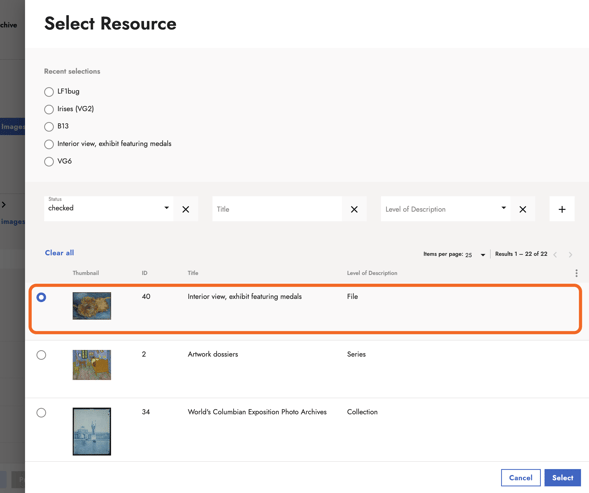
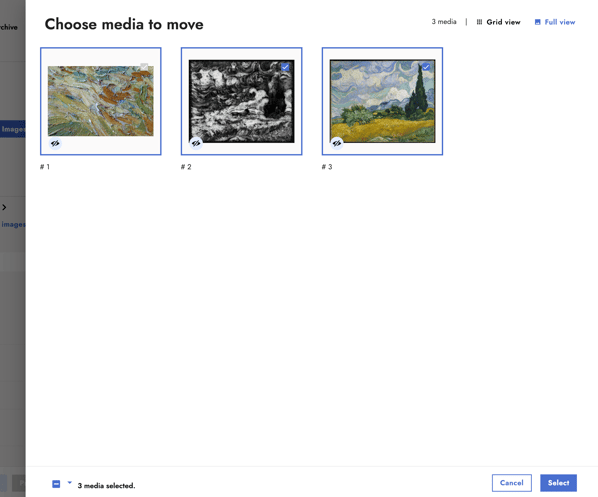
- All the media included in the selected resource is now displayed. By marking their checkboxes, select one or multiple images you want to set as preview image(s) for the artwork. Click Select.
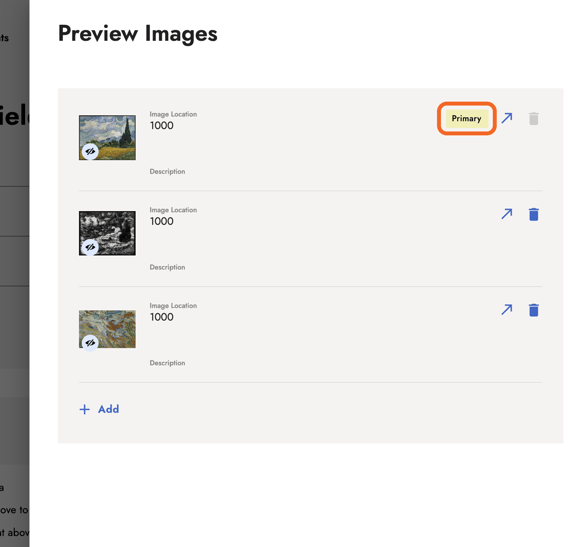
- An overview of the selected preview images opens. The image displayed at the top is the primary image. You can change the primary image by dragging another image from the overview to the top. Click Save.
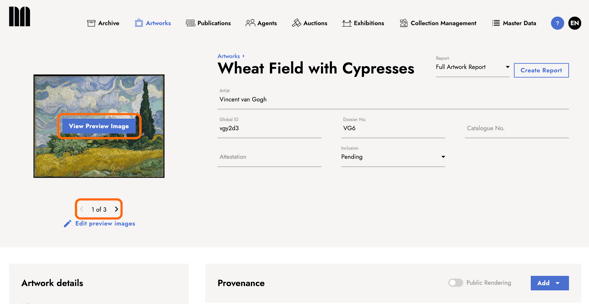
- The primary image is now displayed in the artwork entry. Use the navigation beneath the image to see other preview images or hover over the image and click View Preview Image to view them on a larger scale.
Make sure to check the preview image’s visibility status to see if it is set to public or private. You can do this in the archival resource belonging to the image.
Related articles