
Using the Getty Thesaurus of Geographic Names (TGN) as a source for your geographic locations improves data quality. Learn how to import location to your Navigating.art platform to speed up your data entry and link them to artworks and agents.
The Thesaurus of Geographic Names (TGN) is a structured vocabulary developed by the Getty Research Institute that describes geographic locations, historical places, and cultural sites to support art and cultural heritage research, cataloging, and documentation.
On the Navigating.art platform, there are two ways to create geographic locations: You can create them manually or import them from the Getty Thesaurus of Geographic Names (TGN). This tutorial explains how to import a geographic location. In case you can’t find the location you are looking for in the TGN database, you can create a custom geographic location entry following the tutorial about creating geographic locations.
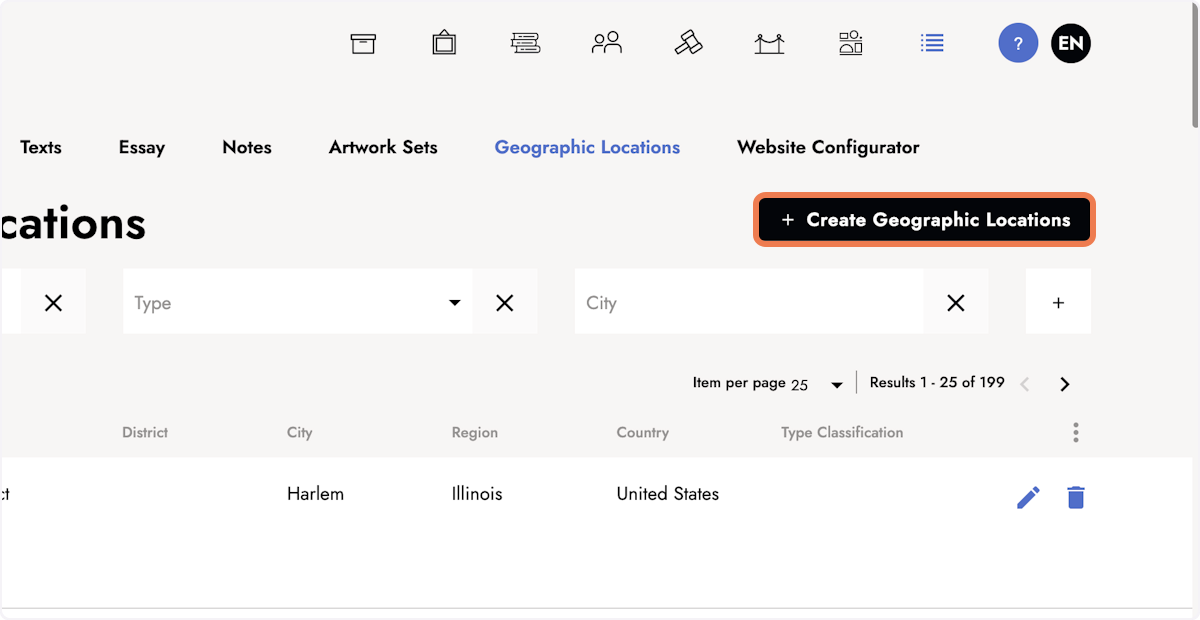
1. Click + Create Geographic Locations
In the Master Data section, find geographic locations in the sub-menu. The button Create geographic locations is located in the top right corner.
2. Begin the import process
A dialog opens. You can either import a geographic location or create one. The option to import a geographic location is automatically selected.

3. Look up the TGN ID of the geographic location
To import a geographic location from the Getty TGN, you need to provide the corresponding ID. If you don't have it at hand, look it up by following the link in the info box.

4. Search the geographic location in the Getty TGN database
Use the search interface on the Getty TGN website to find a place by name, type, and nation.

5. Copy the TGN ID
Select the matching result and find the ID of the TGN entry at the top of the location's entry.

6. Add the TGN ID into the corresponding field.

7. Additional fields are filled automatically.
After you enter the ID, you see a preview of the name and type for verification. Additionally, a link to the TGN entry becomes available for checking the ID. In case the ID is incorrect, you can clear the field and enter a different ID.

8. Confirm with Save
By clicking Save, you confirm the creation of the geographic location and will be forwarded to the detail page.

9. Add more information
On the detail page you can enter additional information. The field for the TGN ID offers a link to the source entry. The section for additional details allows entering coordinates and other features.

Keep reading:
-
If the location you are looking for is not available in the TGN database, you can create a custom geographic location entry by following the tutorial about creating geographic locations.
-
Once you have created your locations, you can start connecting geographic locations to resources.
Last updated: September 12, 2023